Some Thoughts on 3D-Printed Cameras and the Kraken 612
The Kraken 612 with a Nikon Nikkor-SW 65mm f4 large format lens
When you are in the market for some special format analog cameras, such as 6x12 or even 6x17 medium format, you have a choice between some vintage or modern niche cameras such as a Linhof Technorama or a Shen Hao 6x17 field camera on the one hand, or some boutique shops that have come up with some simple, some not so simple designs mostly based on 3D printed parts.
While most of those boutique shops, such as Chroma Camera or Noble Design from the UK or Threedeecamera from Hungary offer readymade builds of their cameras, there are few designers who actually offer the print files so that you can build the camera yourself.
One of those designers is Graham Young, who sells the files for his Kraken 612 camera via his Etsy shop. This is where I bought the files and had the parts of the camera printed here in Berlin by a printing service that is associated with a start-up center for mobility solutions.
Building the Kraken 612
Following the very good instructions on how to build the Kraken 612, there were no major problems in assembling the camera. The only problem I had was with the camera door. One of the two parts came slightly warped from the printing service, so gluing the two parts together was a bit difficult until I reached for power glue and two screw clamps and let the assembled door sit over night.
The remaining few parts caused no major problem during the building of the camera.
Design decisions
The beauty of the Kraken’s design lies in the simplicity of the solutions that Graham has found for some tricky problems. While a medium format camera doesn’t require a sophisticated film transport mechanism like a 35mm camera, there are some problems that different designers approach differently.
On the one hand, the medium format film has to stay taut within the camera, meaning that both the spool holding the unexposed film and the take-up spool shouldn’t move too freely. At the same time, a solution must be found on how to hold them in place while making it easy to remove the spools.
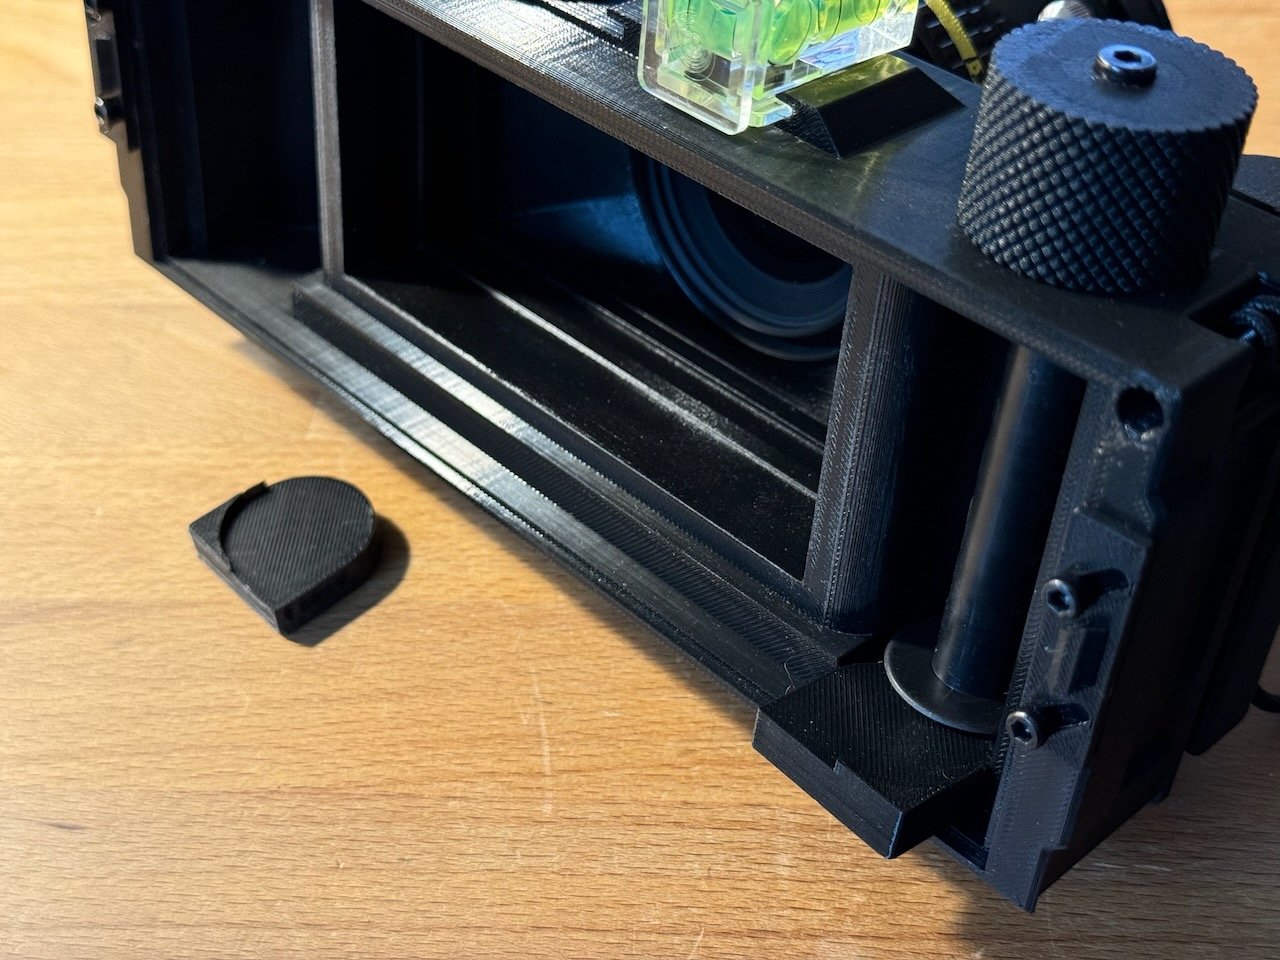
Having seen quite a number of cheap and not so cheap solutions for this problem, I can say that Graham has found a neat way to solve the problem. Instead of having pins on the bottom that are holding the film spools in place, he has opted to use a specially designed wedge to hold each film spool in place. These wedges can be easily removed, which makes a lot easier to take out the exposed film. This is something that I often struggle with other cameras, so this part made me really happy when I saw it.
Two wedges hold the film spools in place and provide fiction that helps the film stay taut.
Room for improvement
During the building, I noticed that mounting a relatively heavy large format lens to the lightweight plastic body might cause a bit of a problem. The lens is supposed to be mounted to a lens board, the lens board screwed into a metal M65 helicon focusing tube, which in turn is then meant to be screwed directly into the 3D printed lens cone. This meant that there two 3D printed parts with no metal thread to be screw mounted to a metal helicon tube with metal M65 threads.
Graham describes a way to improve the connection between the lens cone and the helicon: he uses tape to increase the friction in the thread-connection. This didn’t work for me, so I decided to glue the helicon into the lens cone.
The lens board for the large format lens also had to be threaded into the helicon. This didn’t work for me either, so I simply pressed it in, hoping that the threads of the helicon provide enough friction medium term. In the long run, I may even glue in the lens board to make the whole setup more reassuring.
This design of the lens cone and lens board connection to the helicon was slightly disappointing given I had seen a better solution, at least for the lens board - on the defective Chroma Camera Cube Pan I own.
Steve Lloyd of Chroma Camera had come up with 3D printed lens board that had an M65 thread glued on. The 3D printed part also had some nice grooves for a better grip. So the lens board could be easily mounted to and removed from the helicon tube. Unfortunately the mount didn’t work with the length of the lens cone that I had printed from the Kraken files as the board was slightly thicker.
I might have another lens cone for the Kraken printed soon to be able to use the Chroma lens board. These incremental improvements are so much easier and cheaper with 3D printed cameras.
Shooting with the Kraken 612
A couple of days after I had assembled the Kraken 612 I finally found the time to take some photos, albeit only on our roof terrace, where my wife is growing veggies.
Overall, the shooting experience is nice, both handheld and on a tripod. With the very wide Nikkor-SW 65mm lens mounted to the camera you get a very good depth-of-field once stopped down. Aiming and shooting is a bit hit and miss, and a bubble level mounted to the top of the camera certainly helped to keep the horizon tilt at bay. I have also used a small lightmeter mounted to the top of the camera to that I didn’t have to use anything bigger or my phone for metering purposes.
One of the first shots with the Kraken 612 and a Nikkor-SW 65mm lens - slightly misfocused.
The challenge for me was to remember all the necessary steps (and avoid some others): metering, setting the exposure, guessing the right focus distance on the zone focusing part, levelling the camera, and then shooting. It didn’t always go to plan. Out of the 12 pictures that would have been possible theoretically, I got only ten, and of the ten only three were usable.
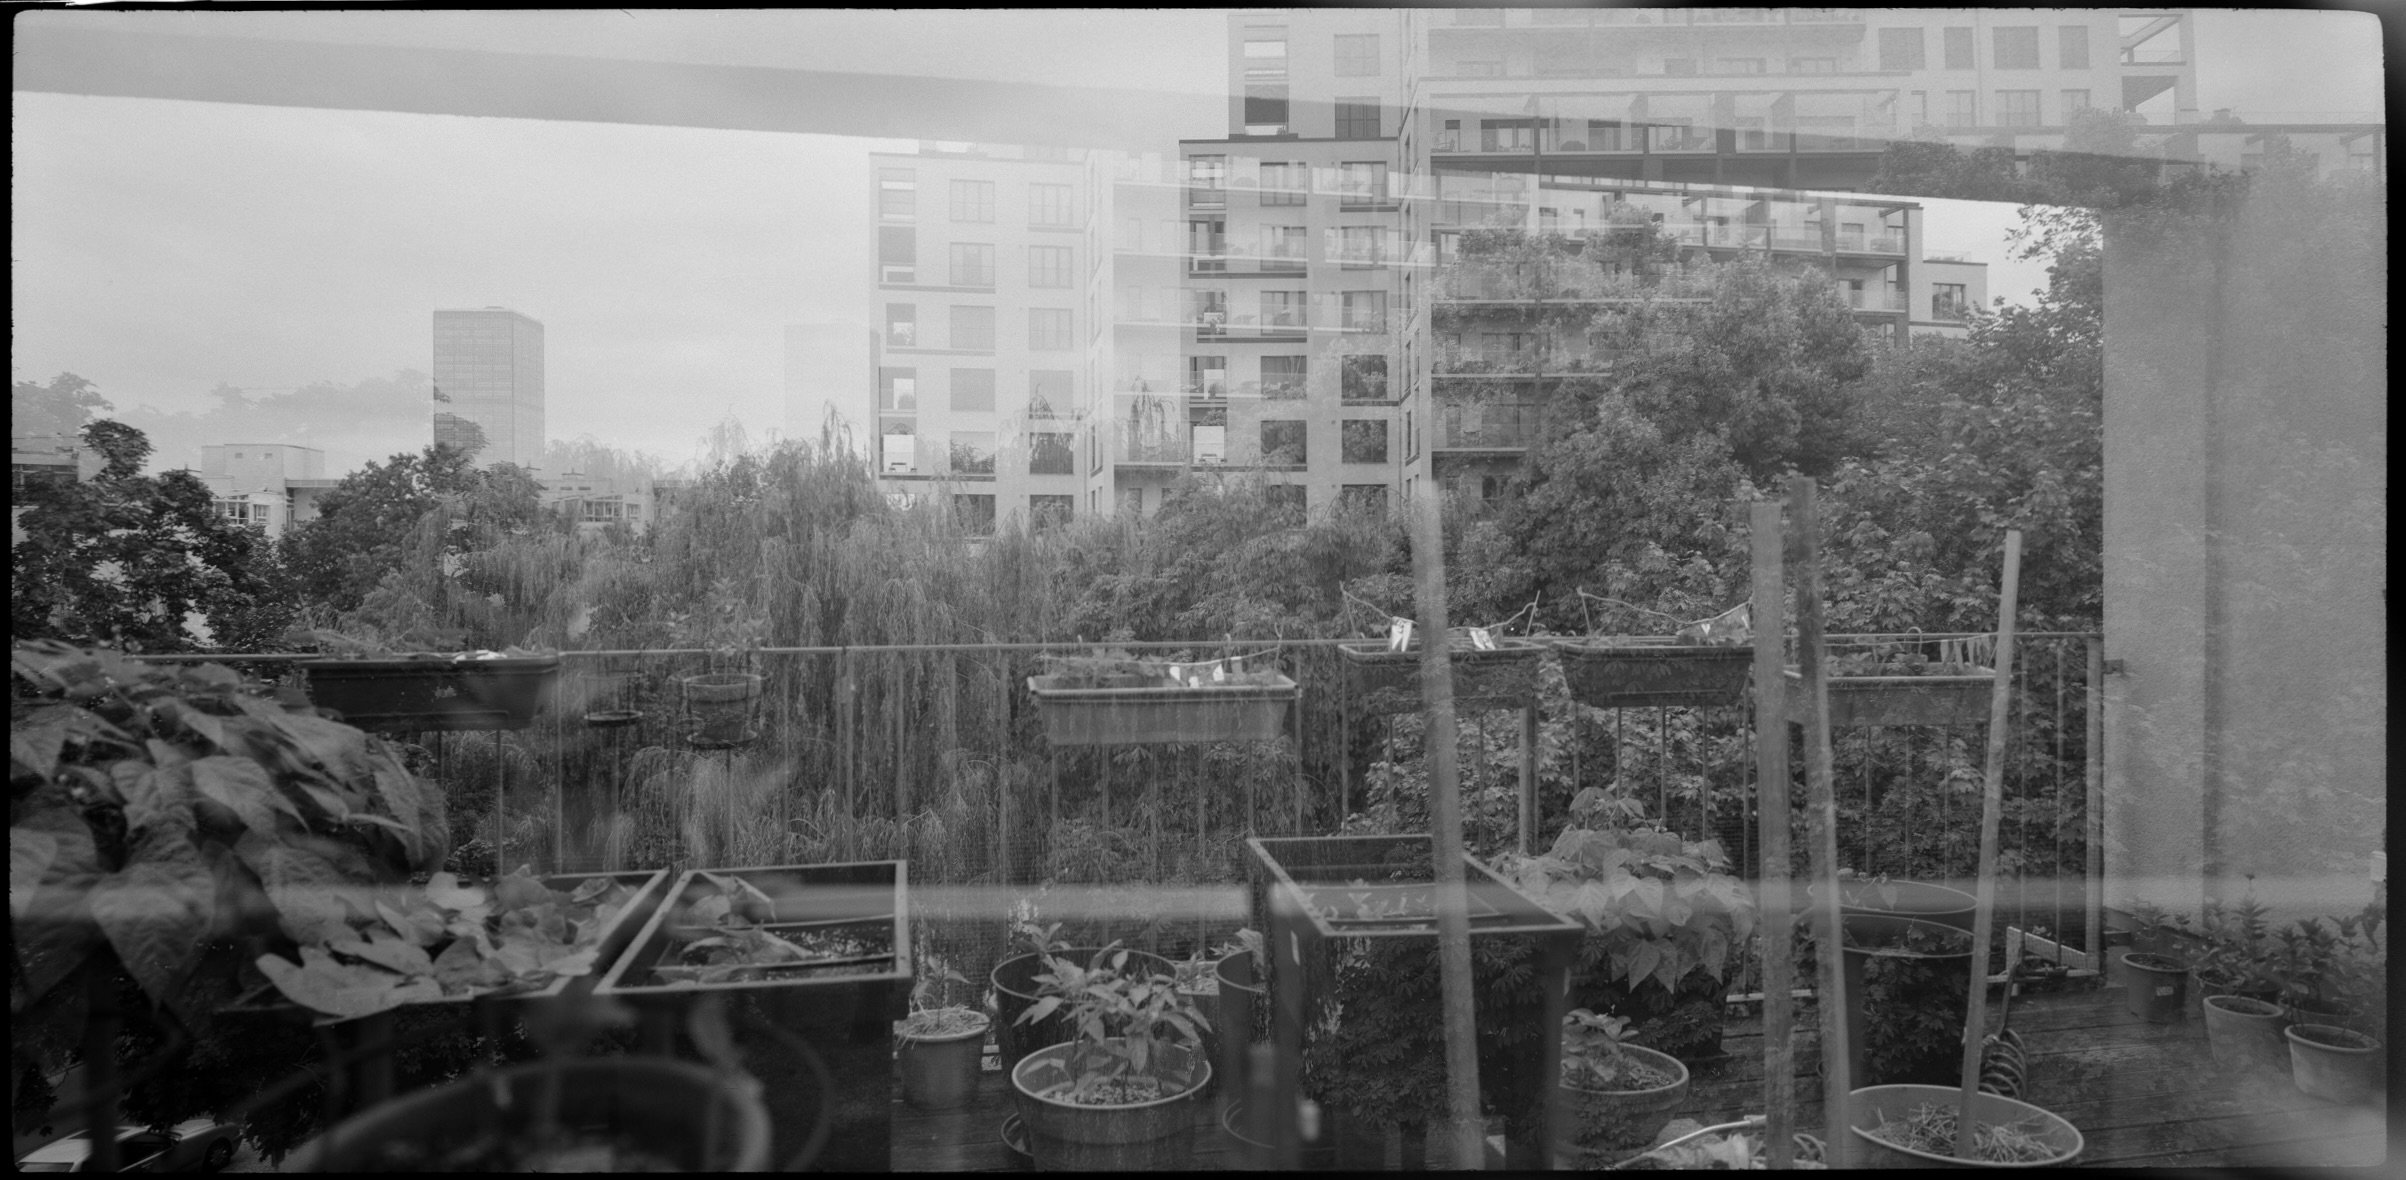
One of the double-exposures with the Kraken 612 - certainly not the camera’s fault.
I misfocused some shots, others were double-exposed because I forgot to wind on the film. Others were simply framed strangely as I need to get used to the 2 : 1 aspect ratio of the pictures.
Strange composition - at least no double-exposure or major misfocus.
But there were also happy accidents. This last photo turned out to be my favourite, despite it being a double-exposure. But it creates a nice faux 3D effect that I really love. The tomato plants create an almost ethereal little forest…
By the way, all photos were taken on Adox CHS 100 II and developed by Jet-Foto in Berlin.
How I scanned the negatives
Scanning those huge 6x12 negatives can be a challenge. While I use a Valoi film holder for my 35 mm films and an Essential Film Holder for most 6x6 shots, I did employ the Lomography Digitaliza 120 for the 6x12 negatives. It was a bit annoying that I only could take one picture of one negative at a time. The Digitaliza is also a bit fiddly to work with, especially if the negatives are prone to coiling up like in this case.
To “scan” the negatives, I used a Panasonic S5 II with the S 100 mm macro lens mounted to a copy stand. And I opted to shoot in high-res mode, which produces images of 96 Megapixels. I went down this route because that way I could crop in the top and bottom of each image easily without losing too much resolution.
Final thoughts
Overall, building and using the Kraken 612 3D printed camera is good fun. Shooting with a camera that you built yourself is really satisfying and can’t be compared to shooting with a modern digital camera. There are still some things I would change, now that I had the camera for a bit (the bottom rear corners are really sharp and uncomfortable when shooting handheld), but with 3D printing being so easy, I might come up with a solution.
Overall, I’ve spent around EUR 160-170 for the whole camera (without the lens, which was about 400 Euros on Ebay back when I bought the unfortunate Cube Pan). Looking at readymade printed cameras, they range between EUR 150 for a simple 6x17 camera similar to the Kraken, to about EUR 1000 for a British Noble camera with a slick design.
The choice is there, but the fun will always be with the home made cameras. I am really looking forward to finding the time to get out into nature to take some well-composed pictures there.


